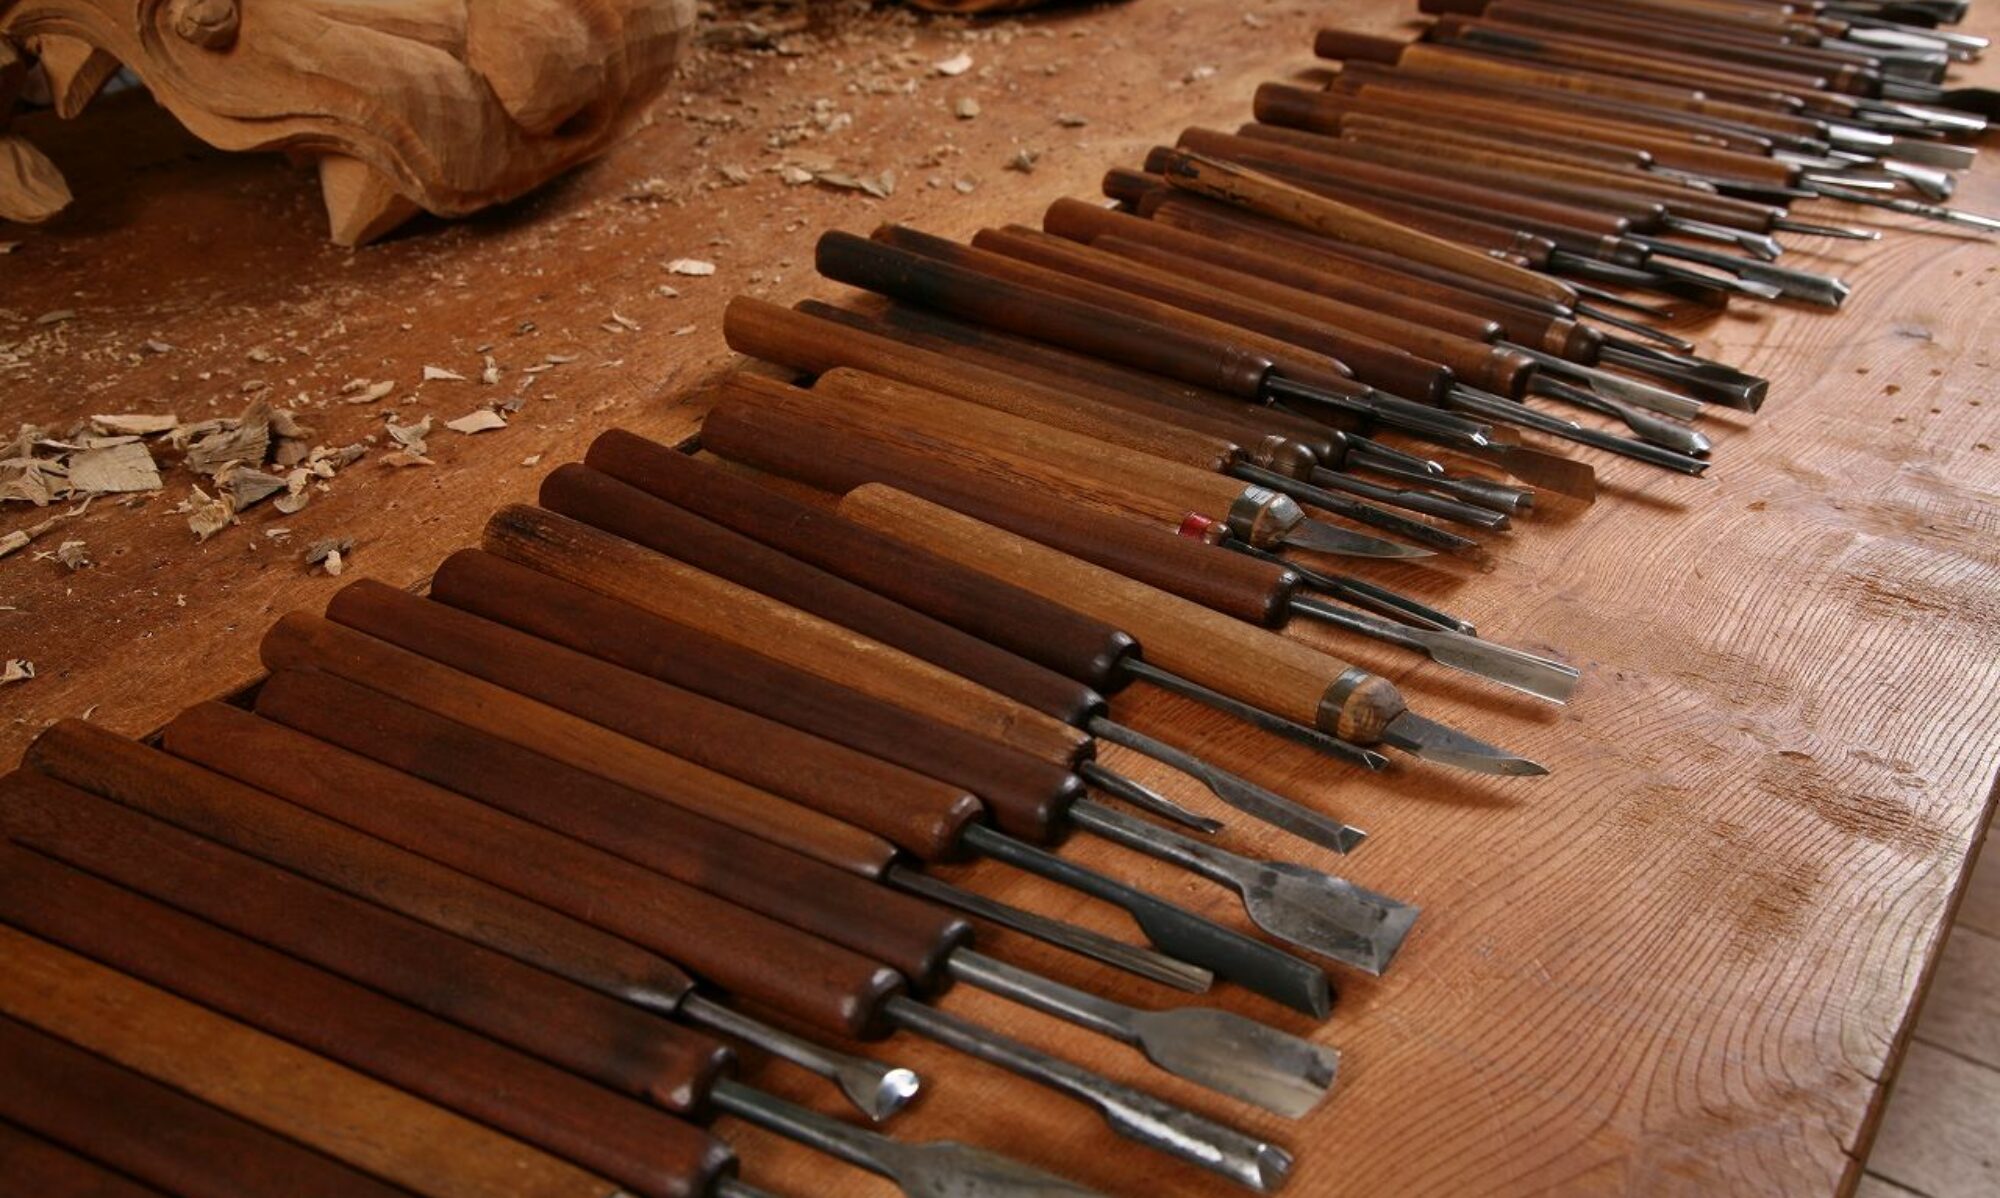
作品のできるまで - 獅子頭の制作過程
![](http://on-wood.info/wp/wp-content/themes/on-wood/img/process_2_1.jpg)
獅子頭の下図を画きます。前面、横面、上面、後面、下面。
![](http://on-wood.info/wp/wp-content/themes/on-wood/img/process_2_2.jpg)
機材に図面を、ボールペンでカーボン紙に写す。(上、横、正面、下面と、全部で六面を写す)
![](http://on-wood.info/wp/wp-content/themes/on-wood/img/process_2_3.jpg)
耳、角も同じ。図面を写した写真。
![](http://on-wood.info/wp/wp-content/themes/on-wood/img/process_2_4.jpg)
電動丸鋸で、大まかに形を切除します。
![](http://on-wood.info/wp/wp-content/themes/on-wood/img/process_2_5.jpg)
帯鋸も使います。
![](http://on-wood.info/wp/wp-content/themes/on-wood/img/process_2_6.jpg)
頭の部分の荒彫りをしているところです。本体の荒彫りの様子です。
![](http://on-wood.info/wp/wp-content/themes/on-wood/img/process_2_7.jpg)
耳、角の荒彫りです。
![](http://on-wood.info/wp/wp-content/themes/on-wood/img/process_2_8.jpg)
下あご、耳、角の荒彫りです。
![](http://on-wood.info/wp/wp-content/themes/on-wood/img/process_2_9.jpg)
本体の荒彫り終了です。
![](http://on-wood.info/wp/wp-content/themes/on-wood/img/process_2_10.jpg)
仕上げのみを使って表面をきれいにします。次に紙やすりを使って磨き上げます。
![](http://on-wood.info/wp/wp-content/themes/on-wood/img/process_2_12.jpg)
下あごに丸棒の穴を開け、棒を通します。
![](http://on-wood.info/wp/wp-content/themes/on-wood/img/process_2_12.jpg)
上あごにも穴を開け丸棒を通し、加動する様にします。
![](http://on-wood.info/wp/wp-content/themes/on-wood/img/process_2_13.jpg)
頭の持ち手を作ります。
![](http://on-wood.info/wp/wp-content/themes/on-wood/img/process_2_14.jpg)
上あごに柄穴を開けて、持ち手を取り付けます。
![](http://on-wood.info/wp/wp-content/themes/on-wood/img/process_2_15.jpg)
耳、角に、それぞれ柄穴を開けて、柄を取り付けます。
本体にもそれぞれ柄穴を開けて、柄を取り付けます。
![](http://on-wood.info/wp/wp-content/themes/on-wood/img/process_2_16.jpg)
仕上がりです。髪の毛を角に取り付けて飾りの刀を銜えさせ、座布団に乗せて見栄えを良くします。
ガラスケースも専門店で買い求め、ケースに入れると埃から守ることができます。
- Tweet
-
-